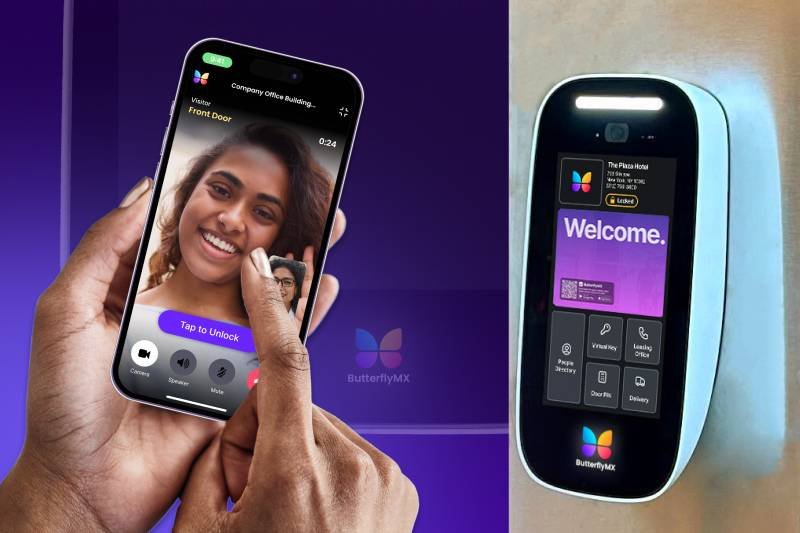
Smart intercoms have transformed the way buildings handle visitor access, package deliveries, and resident security. Unlike traditional buzzer systems, modern smart intercoms like ButterflyMX, 2N, and Swiftlane allow tenants to unlock doors via smartphone, video chat with visitors, and integrate with other building systems.
If you’re planning to install a smart intercom for the first time, this step-by-step guide will help you navigate the process — from preparation to final testing.
Step 1: Assess Your Building Needs
Before buying, ask:
- How many units will the intercom serve?
- Do you want video, audio-only, or both?
- Will you integrate with smart locks, cameras, or property management software?
- Do you need mobile app access for residents?
Pro Tip: Larger buildings usually benefit from cloud-based systems, while small properties might save money with standalone intercoms.
Step 2: Choose the Right Intercom Model
When comparing intercoms, consider:
- Wiring requirements → Does your building already have Ethernet/PoE lines?
- Connectivity → Wi-Fi vs wired Ethernet.
- Features → Remote unlock, facial recognition, visitor logs, delivery PINs.
- Budget → Entry-level units can start under $500, while high-end systems cost thousands.
Step 3: Prepare Your Entry Point
- Identify the main entry doors (lobby, garage, side gates).
- Ensure they have power access and a secure mounting location.
- Remove old buzzer/intercom hardware, if present.
Pro Tip: For new builds, plan wiring routes early to avoid expensive retrofits later.
Step 4: Install the Hardware
- Mount the intercom panel securely at the entry point.
- Connect wiring (Ethernet for PoE systems, or power lines for standalone).
- Attach locking mechanisms (electromagnetic locks, strikes, or smart locks).
- Secure all housing to prevent tampering.
Step 5: Configure the System Software
- Download the provider’s app or web portal.
- Add resident accounts and configure permissions.
- Test video/audio quality.
- Set up visitor PINs, delivery codes, or QR access.
Pro Tip: Some intercoms integrate with property management software (like Yardi or RealPage), which simplifies tenant data syncing.
Step 6: Test the System
- Try unlocking with a phone, PIN, and fob.
- Make a call to a resident.
- Check video clarity and door response time.
- Confirm backup power functionality (battery or UPS).
Step 7: Train Residents & Staff
- Send a welcome guide to residents.
- Train front desk or security staff on managing visitors.
- Post troubleshooting instructions in common areas.
Step 8: Maintain & Update
- Schedule quarterly maintenance (clean cameras, check wiring).
- Apply firmware updates for security patches.
- Regularly review access logs for unusual activity.
Final Thoughts
Installing a smart intercom is one of the most effective upgrades a building can make for both security and convenience. By carefully planning, choosing the right system, and ensuring proper installation, property managers can enhance resident experience while improving safety.
👉 Whether you go with ButterflyMX, 2N, DoorBird, or Swiftlane, the installation process follows similar steps — plan, install, configure, test, and maintain.
RECENT POSTS
-
Voice Control and Touchless Access: The Next Big Leap in Intercom Technology
-
The Future of Smart Intercoms: AI, IoT, and Beyond
-
Common Installation Mistakes to Avoid with Smart Intercoms
-
Step-by-Step Guide: Installing a Smart Intercom in Your Building
-
Top 5 Alternatives to ButterflyMX Smart Intercoms
-
In-Depth Review: ButterflyMX vs 2N Smart Intercom Systems
-
How to Choose the Right Smart Intercom for Your Property
-
Top 10 Budget-Friendly Smart Intercoms Under $500
-
Top 10 Smart Intercoms for Apartments in 2025
-
Akuvox vs Aiphone: A Detailed Review for Property Managers
-
ButterflyMX vs 2N: Which Smart Intercom Fits Your Building Best?